One mom’s messy, mindful journey to heal her relationship with food—while juggling chaos, kids, and cravings.

🥕Carrots

Simple recipes, mindful eating, and nourishing habits that make healthy living feel joyful—not perfect.

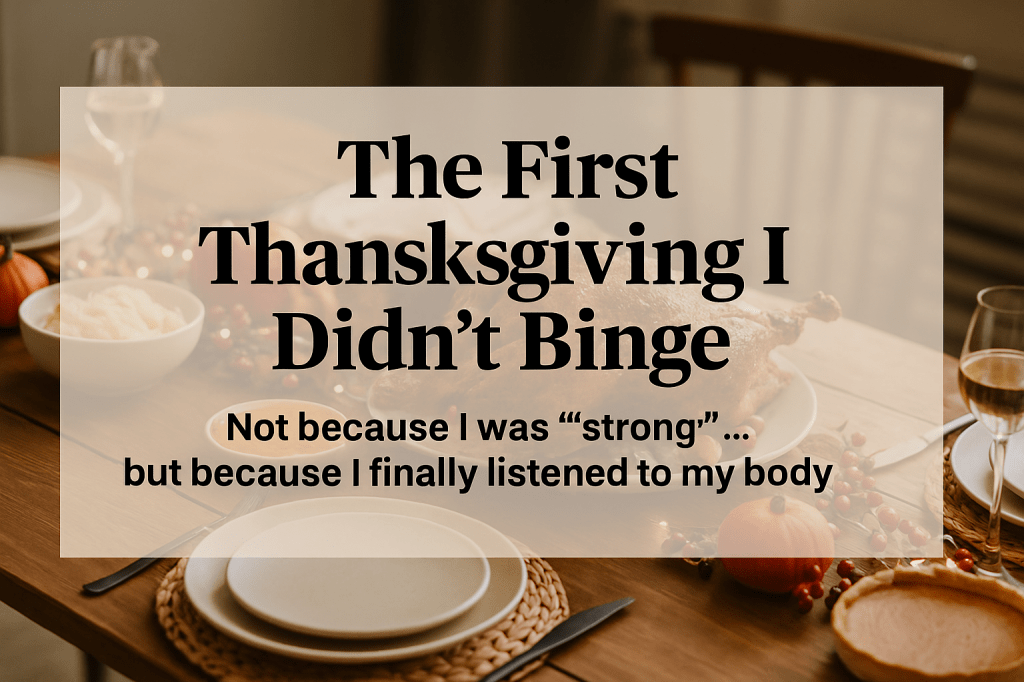
  • How I Made It Through Thanksgiving Without Bingeing for the First Time

    Lately, I’ve been really intentional about stepping away from weight loss as a goal. Not because I don’t want to lose weight eventually… but because I finally understand something huge:

    If I don’t rewire my brain first, any weight I lose will just come right back.

    My brain has been wired since childhood to use food for comfort. Full stop. End of story. And until I address that, I can diet all I want, but nothing will change long-term.

    So right now, I’m focusing on two things:

    Consistency
    and
    Mindful eating.

    These are the two areas I’ve struggled with the most—especially when life gets chaotic.


    Thanksgiving Was the Test… and My Brain Wanted Comfort Food SO Badly

    Thanksgiving break last week was rough in all the ways that usually send me spiraling:

    • Family gatherings
    • Cooking and planning
    • Hosting friends
    • Kids home all day
    • Sensory overload
    • Stress
    • Noise
    • Emotional tension

    And, of course, a big one: my husband and I weren’t getting along.

    In the past, any one of these things would have been enough to push me straight into a binge.

    But this year, I made myself a promise:

    No matter what happens, stay consistent with mindful eating.
    Not perfect. Not restrictive. Just consistent.

    Because here’s the truth:
    Food doesn’t solve any of those problems.
    Not the stress.
    Not the overwhelm.
    Not the noise.
    Not the fighting.
    Not the exhaustion.

    If anything, it makes everything worse because afterward comes the anxiety, the guilt, the bloating, and the crash.


    So This Year, I Did Something Different

    Even through all the chaos, I slowed down.

    I listened to my body.

    I ate when I was hungry.

    I stopped when I was satisfied — not stuffed.

    I even did that at the Thanksgiving meal.
    No seconds.
    No rushing.
    And yes, I had pie.

    But I actually enjoyed the pie. I savored it without guilt, without fear, without using it as a shield to block out my feelings.

    And the most shocking part?

    I didn’t binge even once.

    I truly don’t think that has ever happened to me on a holiday. Maybe not since I was little.


    Rewiring My Brain, One Thought at a Time

    The real work wasn’t the eating — it was the thinking.

    There were moments where my thoughts said:

    “Just eat the leftover pie. It’s in the fridge.”

    Old me would’ve either fought the thought using willpower (and lost)…
    or obeyed it instantly.

    But this time, I watched it.

    I didn’t argue with it.
    I didn’t shame it.
    I didn’t cling to it.
    I just observed:

    Do I actually want pie right now?

    And the answer was an immediate, solid no.

    So I had a coconut bar instead — something that tastes amazing to me, satisfies me, and doesn’t make my blood sugar crash or leave me bloated like pie does.

    It wasn’t about choosing the “healthy” option.
    It was about choosing what I actually wanted.


    I’m Not Focusing on What I Eat — I’m Focusing on How and Why

    This is the foundation I never built before.

    This — the slowing down, the emotional awareness, the consistency, the self-trust — is the work that prevents binges.

    This is the work that heals.

    This is the work that allows the weight to release naturally later, without forcing it, without punishing myself, and without white-knuckling through cravings.

    Right now, I’m not counting calories.
    I’m not restricting.
    I’m not trying to be perfect.
    I’m not chasing a number on a scale.

    I’m fixing the fundamentals I’ve ignored for years.

    Because when my why is in the wrong place, my how will always follow.

    And that’s exactly why the binges happen.

    So this season of my life is about:

    ✨ Choosing consistency over perfection
    ✨ Eating mindfully, not mindlessly
    ✨ Listening to my body, not my stress
    ✨ Rewiring my brain with patience rather than force
    ✨ Being gentle but firm with myself
    ✨ Building trust again, one meal at a time

    And honestly?
    It feels like the first time I’m truly making progress.

  • Mindful Eating: A Gentle Path Back to Self

    Mindful Eating: Coming Home to Myself

    There was a time when I didn’t even realize I had eaten until I saw the empty wrapper on the counter.

    I’d be standing in the kitchen — heart racing, mind spinning, kids yelling in the background — and suddenly I’d find myself halfway through a bag of something sweet or salty, not even remembering how it started. I wasn’t hungry. I was overwhelmed. I was touched-out. I was craving quiet and couldn’t find it. I just wanted to feel better for a second.

    That was my normal for a long time.

    It felt like food was the only thing that didn’t ask anything of me. It didn’t need me to be patient or regulated or productive or strong. It just let me escape — for a few minutes.

    But afterward? I felt worse. Sluggish. Guilty. Distant from my own body.
    And that’s when I realized: I didn’t want food to be my only safe place.
    I wanted me to be my safe place.

    Mindful eating became my slow return back to myself. Not as a diet. Not as a punishment. But as a way to reconnect. To pause. To listen. To be with myself, instead of running away from everything I was feeling.


    What Is Mindful Eating, Really?

    Mindful eating is the practice of bringing your full awareness to the act of eating — from the first craving to the last bite. It’s about noticing, choosing, and experiencing your food with intention.

    It’s not about eating perfectly, or only eating kale, or giving up sugar forever.
    It’s not about counting every macro or chewing each bite 47 times.

    It’s about breaking the cycle of numbing out, speeding through, and self-shaming.
    It’s about slowing down long enough to feel safe in your body again.


    My Old Patterns: Automatic and Invisible

    There were so many triggers I didn’t see clearly until I started paying attention.
    — When I was alone, especially at night — food filled the silence.
    — When I was sick or tired, I craved sugar and salt like a lifeline.
    — When I felt anxious, I needed the crunch or the chew or the sweetness.
    — When I was overstimulated (hello, toddler meltdowns), it gave me something to control.

    It was so automatic, I didn’t even notice it happening. Until I was already knee-deep in brownie batter, or licking the inside of the peanut butter jar, or hiding the wrapper because I didn’t want to admit how out of control I felt.

    But mindful eating isn’t about willpower.
    It’s about awareness.

    The goal isn’t to never emotionally eat again. The goal is to notice the why — and then gently decide, “What do I really need right now?”

    Sometimes the answer is still food.
    But other times, it’s a nap. A breath. A moment alone. Or just permission to cry.


    What Mindful Eating Looks Like in My Life Now

    I’m not perfect at this. I still slip. But I’ve created some habits that help me reconnect before, during, and after I eat.

    Before I Eat:

    • I take a breath — even just one — before I grab something. It gives me a chance to ask: What am I feeling? What do I really need?
    • I pause and name my hunger. Is this physical hunger or emotional hunger? Both are valid. But they need different care.
    • I remind myself I’m allowed to enjoy food. This helps take away the guilt, so I can actually feel satisfied — instead of stuck in a shame loop.

    While I Eat:

    • I sit down (when I can). Even if it’s just on the floor with my toddler. I try not to eat standing up like I’m rushing through life.
    • I put the food on a plate instead of eating from the package. It makes the act feel more intentional.
    • I check in halfway through. Am I still hungry? Am I full but still wanting more for emotional reasons? Just asking the question helps.

    After I Eat:

    • I take a moment to notice how I feel. Did that food satisfy me? Or am I still needing something deeper — connection, rest, stillness?
    • I give myself grace. There is no “perfect” here. Some days I eat mindfully. Some days I eat emotionally. Both are human. I’m still healing.

    Mindful Eating Is Not About Control. It’s About Curiosity.

    For years, I thought healing my relationship with food meant I had to control it. Track it. Conquer it.
    But it turns out, control was never the answer.
    Compassion was.

    Now, instead of saying, “Why did I eat that?”
    I ask: “What was I needing?”
    And that question alone softens everything.

    Because at the end of the day, mindful eating isn’t about food.
    It’s about presence. Awareness. And the courage to stay with yourself — even in the messiest moments.

    I’m not here to eat perfectly.
    I’m here to feel whole.

    And every time I eat with intention, every time I choose connection over control, I come home to myself a little more.


    If You’re Just Starting This Journey

    Here’s what I’d say to you, mama — if you’re where I was:

    • Start small. Just one breath before eating is enough.
    • Get curious, not judgmental. Every moment is feedback, not failure.
    • You don’t need a plan, or rules, or a perfect kitchen. You just need a willingness to come back to yourself.
    • The goal isn’t to never eat emotionally. It’s to understand what your emotions are asking for.

    You’re not broken. You’re just tired.
    And maybe food was the only one listening for a while.
    But now… you are.

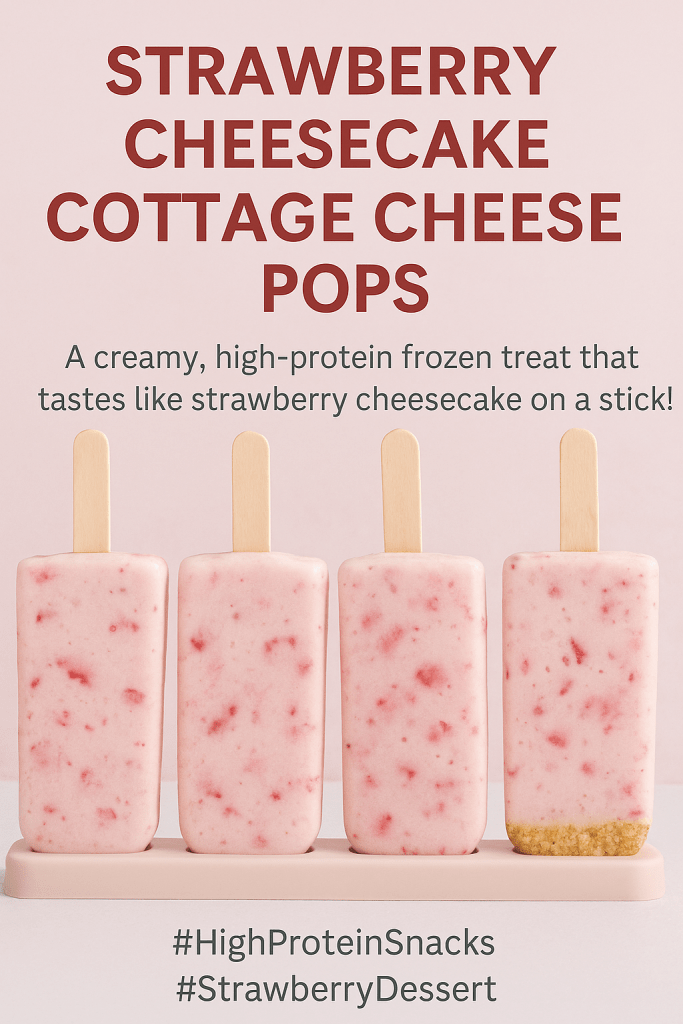
  • Strawberry Cheesecake Cottage Cheese Pops

    The other day, we were outside enjoying the sunshine—I was busy weeding, and Liam was on one of his little adventures. Suddenly, he proclaimed, serious as can be, that he had found an Easter egg. Considering that we had counted all the eggs on Easter and made sure we had found them all, I thought he must be mistaken—until he opened it and, sure enough, there was candy inside! We were both so surprised, and I couldn’t help but feel proud of his treasure-hunting skills, so I let him eat the candy.

    A few minutes later, Liam went inside, saying he needed to put his hoodie away. When he came back, wouldn’t you know it? He found another egg—just sitting there in plain sight. How did we miss it before? That’s when it hit me. I watched as he went inside a third time, and it finally clicked. My clever little trickster had a stash of Easter eggs still full of candy in his room, and he was sneaking them outside to ‘find’ them again.

    I laughed, called him out, and he just gave me that classic, mischievous grin. We both burst into laughter—caught in the game of his own little Easter egg adventure.

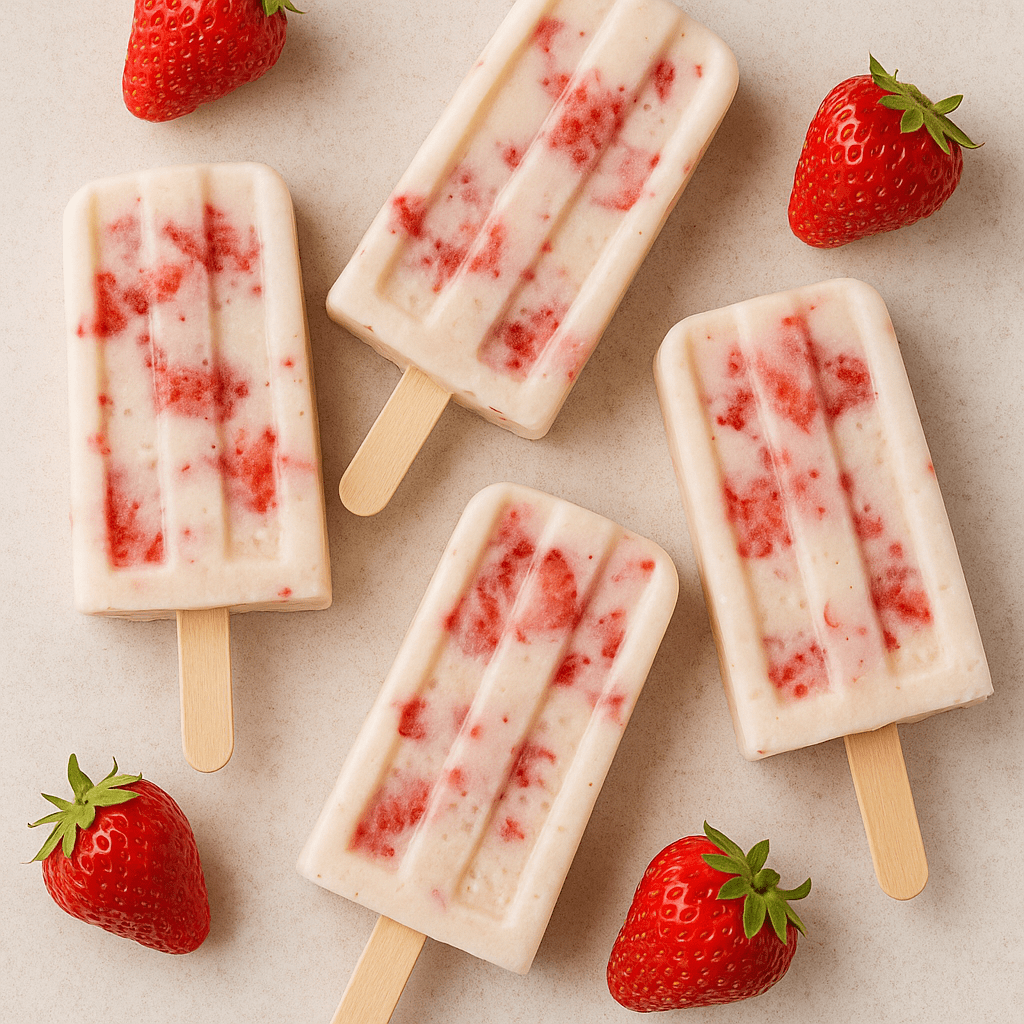
    Honestly, it’s moments like these that make me grateful for quick and easy treats like these Strawberry Cheesecake Cottage Cheese Pops. Sure, they’re packed with creamy, fruity goodness and a boost of protein—but more importantly, they’re a sweet surprise waiting in the freezer… and unlike those Easter eggs, I actually know where these are hiding.

    Why You’ll Love These Pops

    These Strawberry Cheesecake Cottage Cheese Pops are everything you want in a treat—cool, creamy, and perfectly sweet with a boost of protein from cottage cheese and a touch of vanilla protein powder. They’re a refreshing snack for sunny days, a satisfying post-workout treat, or even a sneaky way to get some extra protein into your kids.

    Plus, they’re quick to make and easy to customize. Add extra strawberries, swirl in some jam, or skip the graham cracker crumbs for a lighter version.

    And the best part? You can ‘hide’ these in your freezer for when you need a little pick-me-up, just like Liam’s surprise Easter eggs… only this time, I actually know where they’re hidden.

    Strawberry Cheesecake Cottage Cheese Pops Recipe

    Ingredients:

    • 1 cup cottage cheese (full fat)
    • 4 oz cream cheese (softened)
    • 1–2 tbsp honey or maple syrup (optional)
    • 1 cup strawberries (fresh or frozen, chopped)
    • 1/2 tsp vanilla extract
    • Pinch of salt
    • Optional: 2 tbsp crushed graham crackers (for ‘crust’ layer)

    Instructions:

    1. In a blender, combine cottage cheese, cream cheese, honey, vanilla extract, and salt. Blend until smooth and creamy.
    2. Add strawberries and pulse to combine. Leave small chunks for texture or blend fully for a smoother popsicle.
    3. Optional: Add a sprinkle of crushed graham crackers to the bottom of each popsicle mold.
    4. Pour the mixture into molds and insert popsicle sticks.
    5. Freeze for 4–6 hours or overnight.
    6. Run warm water over the molds to release.

    Notes:

    • Adjust the honey based on the sweetness of your protein powder.
    • Use fresh strawberries for a brighter flavor, or frozen for convenience.
    • These make a great post-workout treat or a kid-friendly summer snack.

    And That’s a Wrap!

    These Strawberry Cheesecake Cottage Cheese Pops have become a little bit of sunshine on a stick for us. Whether it’s a hot afternoon or just a sweet surprise after a long day, they always bring a smile—just like Liam’s little Easter egg adventure.

    If you give these a try, I hope they bring a bit of joy to your day too. And if you catch any little “tricksters” hiding their own treats, you’ll know you’re not alone.

    Craving more fun recipes like this? Make sure to subscribe so you never miss a new treat!

  • Chocolate & Peanut Butter Mini Muffins (Naturally Sweetened)

    When I first started making muffins and made banana peanut butter muffins, my 5-year-old son stuck his nose up at them without a second thought. (Toddlers and their refined palates, right?) Since I know chocolate is always a safe bet with him, I figured I couldn’t go wrong by combining chocolate and peanut butter into a mini muffin. And sure enough — these were a total win!

    These mini muffins are naturally sweetened with honey (or maple syrup if you prefer), packed with cocoa and peanut butter, and just the right size for little hands (or big snackers). Plus, they’re quick to whip up and freezer-friendly if you want to stockpile snacks ahead of time!

    If you’re looking for a kid-approved, lunchbox-friendly, or “I-just-need-something-chocolatey” treat, you’ll love these!

    Ingredients You’ll Need:

    Before we get baking, here’s a quick look at what you’ll need:

    • All-purpose flour
    • Unsweetened cocoa powder
    • Baking powder
    • Baking soda
    • Salt
    • Natural creamy peanut butter
    • Honey (or maple syrup)
    • Eggs
    • Coconut oil (or avocado oil)
    • Milk (dairy or almond milk)
    • Vanilla extract
    • Mini chocolate chips (I used Lily’s Sugar Free Dark Chocolate Baking Chips)

    Step-by-Step: How to Make Chocolate & Peanut Butter Mini Muffins

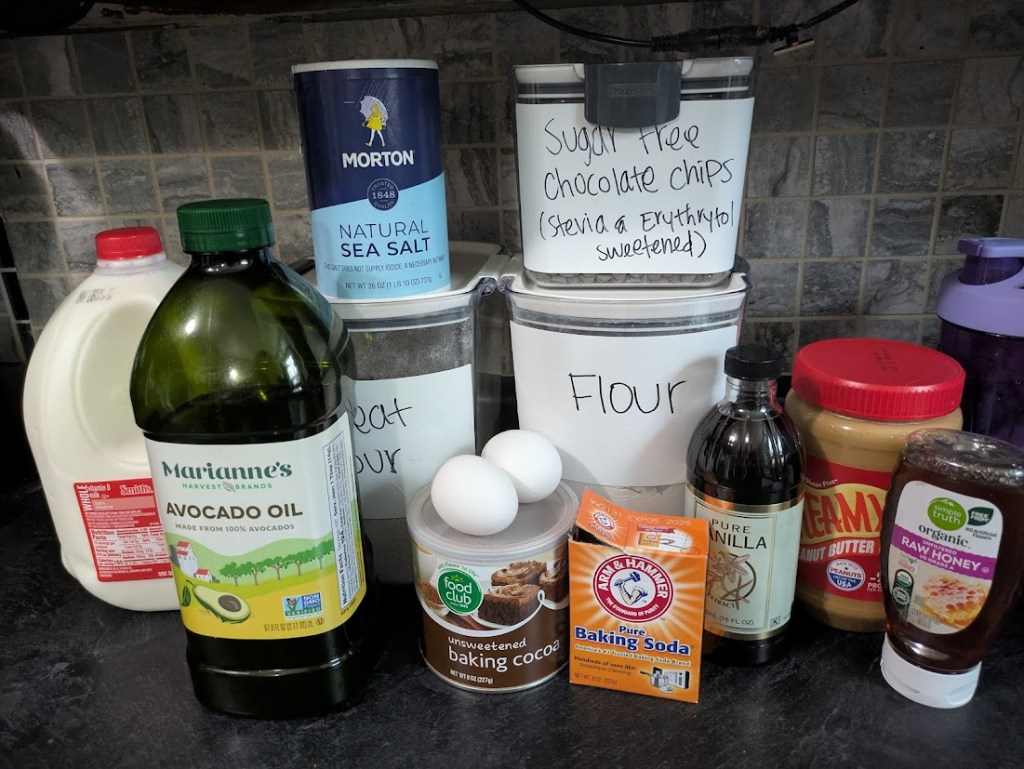
    Step 1: Gather Your Ingredients
    First things first — gather all your ingredients and set them out.
    This helps everything move faster once you start mixing!

    All the ingredients ready to go!

    Step 2: Preheat and Prepare
    Preheat your oven to 350°F (175°C).
    Go ahead and lightly grease your mini muffin tin or line it with mini liners. I personally use these silicone mini muffin molds so I can easily pop them out when they are done cooling!

    Step 3: Mix the Dry Ingredients
    In a large bowl, whisk together the flour, cocoa powder, baking powder, baking soda, and salt.
    This will make sure everything is evenly combined and no lumps of cocoa hide later!

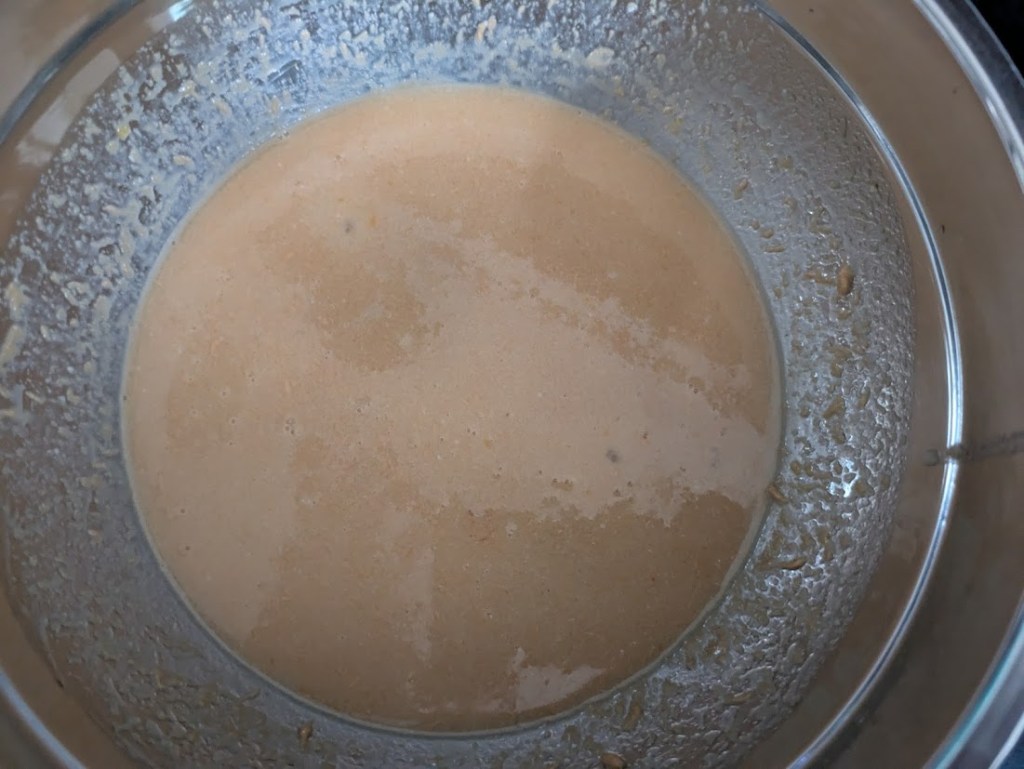
    Step 4: Mix the Wet Ingredients
    In a separate bowl, stir together the peanut butter, honey, eggs, melted coconut oil (or avocado oil), milk, and vanilla extract.
    Mix it until it’s smooth and creamy. I had to whisk for a while before it totally smoothed out.

    Step 5: Bring It All Together
    Now pour your wet ingredients into the bowl with the dry ingredients.
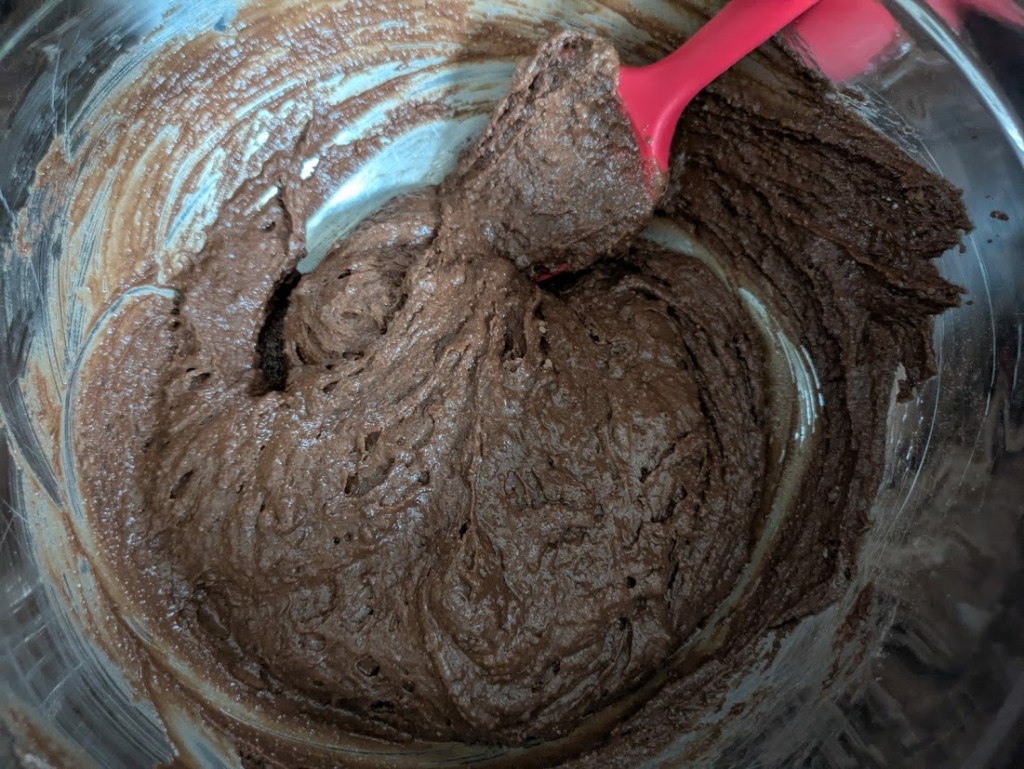
    Gently stir everything together — just until combined. (A few lumps are okay! Overmixing = dense muffins.)

    Step 6: Fold in the Chocolate Chips
    Toss in the mini chocolate chips and gently fold them into the batter.

    Step 7: Fill the Muffin Tin or silicone molds
    Scoop the batter into your mini muffin cups, filling each about ¾ of the way full. As you can see, I was pretty heavy handed on the spray 😂

    Step 8: Bake and Cool
    Bake for 10–12 minutes. You’ll know they’re done when a toothpick poked into the center comes out with just a few moist crumbs (not wet batter!).
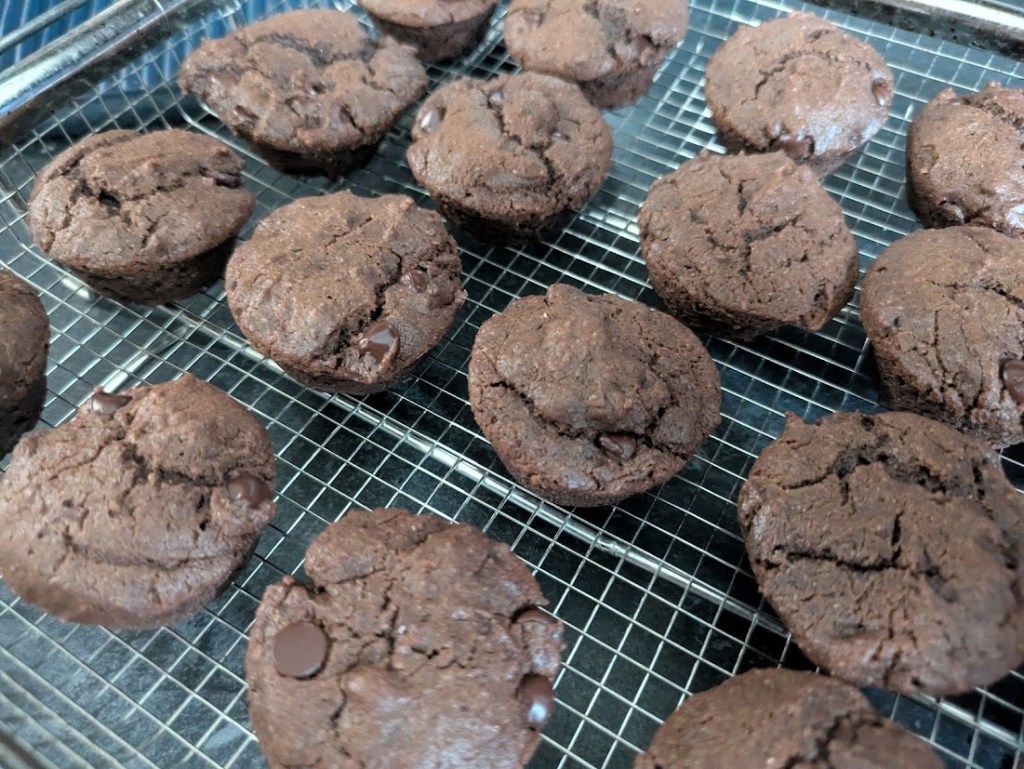
    Let them cool in the pan for 5 minutes, then transfer them to a wire rack to cool completely.

    A Quick Note:

    When I first made this batch, I realized I didn’t have baking powder on hand! I made a quick swap by using ¾ teaspoon baking soda plus ½ teaspoon distilled white vinegar mixed into the wet ingredients — and the muffins still turned out soft and delicious.
    So if you ever find yourself out of baking powder, you can do the same!


    Chocolate & Peanut Butter Mini Muffins (Naturally Sweetened)

    Ingredients:

    • 1 ½ cups all-purpose flour (or half whole wheat flour)
    • ½ cup unsweetened cocoa powder
    • 1 teaspoon baking powder
    • ½ teaspoon baking soda
    • ½ teaspoon salt
    • ½ cup natural creamy peanut butter
    • ½ cup honey (or pure maple syrup)
    • 2 large eggs
    • ⅓ cup melted coconut oil (or avocado oil)
    • ž cup milk (dairy or unsweetened almond milk)
    • 1 teaspoon vanilla extract
    • ½ cup mini chocolate chips (I used Lily’s Sugar Free Dark Chocolate Baking Chips)

    Instructions:

    • Preheat the oven to 350°F (175°C). Lightly grease a mini muffin tin or line with mini muffin liners.
    • Mix the dry ingredients: In a large bowl, whisk together the flour, cocoa powder, baking powder, baking soda, and salt.
    • Mix the wet ingredients: In a separate bowl, whisk together the peanut butter, honey (or maple syrup), eggs, melted oil, milk, and vanilla extract until smooth.
    • Combine wet and dry: Pour the wet ingredients into the dry ingredients and stir until just combined. Be careful not to overmix!
    • Fold in the mini chocolate chips.
    • Fill the muffin cups about ž full with the batter.
    • Bake for 10–12 minutes, or until a toothpick inserted in the center comes out with a few moist crumbs.
    • Cool in the pan for 5 minutes, then transfer to a wire rack to cool completely.

    Notes:

    • If you don’t have baking powder, you can substitute by using ž teaspoon baking soda plus ½ teaspoon distilled white vinegar added into the wet ingredients.
    • These muffins are naturally sweetened and perfect for freezing — just store in a freezer bag for up to 2 months!
    • I used Lily’s Sugar Free Dark Chocolate Baking Chips, but feel free to use any mini chocolate chips you like!

    Final Thoughts

    These chocolate and peanut butter mini muffins have been such a hit around here — especially for quick after-school snacks or tossing into our homemade lunchables! I love making a batch at the start of the week and slipping a few into my son’s lunchbox for an easy, naturally sweet treat. (And let’s be honest — I usually sneak a couple for myself too 😆).

    If you give these a try, I’d love to hear how they turn out for you!
    Leave a comment below— I love seeing what you bake! 🥰🍫