When I first started making muffins and made banana peanut butter muffins, my 5-year-old son stuck his nose up at them without a second thought. (Toddlers and their refined palates, right?) Since I know chocolate is always a safe bet with him, I figured I couldn’t go wrong by combining chocolate and peanut butter into a mini muffin. And sure enough — these were a total win!
These mini muffins are naturally sweetened with honey (or maple syrup if you prefer), packed with cocoa and peanut butter, and just the right size for little hands (or big snackers). Plus, they’re quick to whip up and freezer-friendly if you want to stockpile snacks ahead of time!
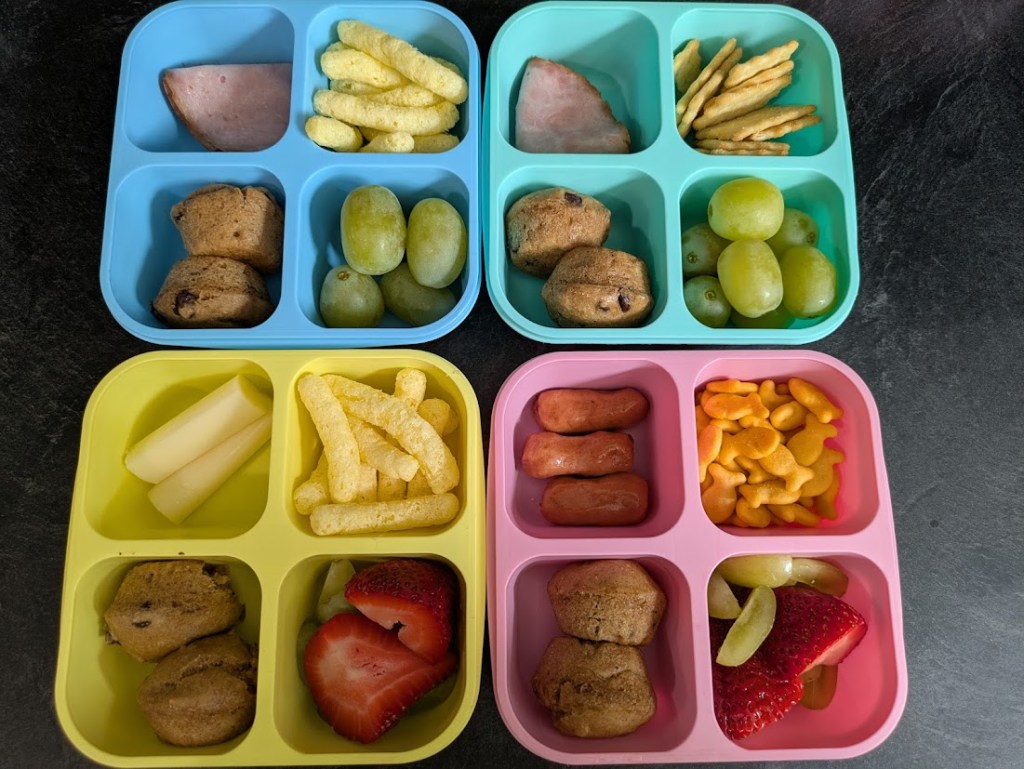
If you’re looking for a kid-approved, lunchbox-friendly, or “I-just-need-something-chocolatey” treat, you’ll love these!

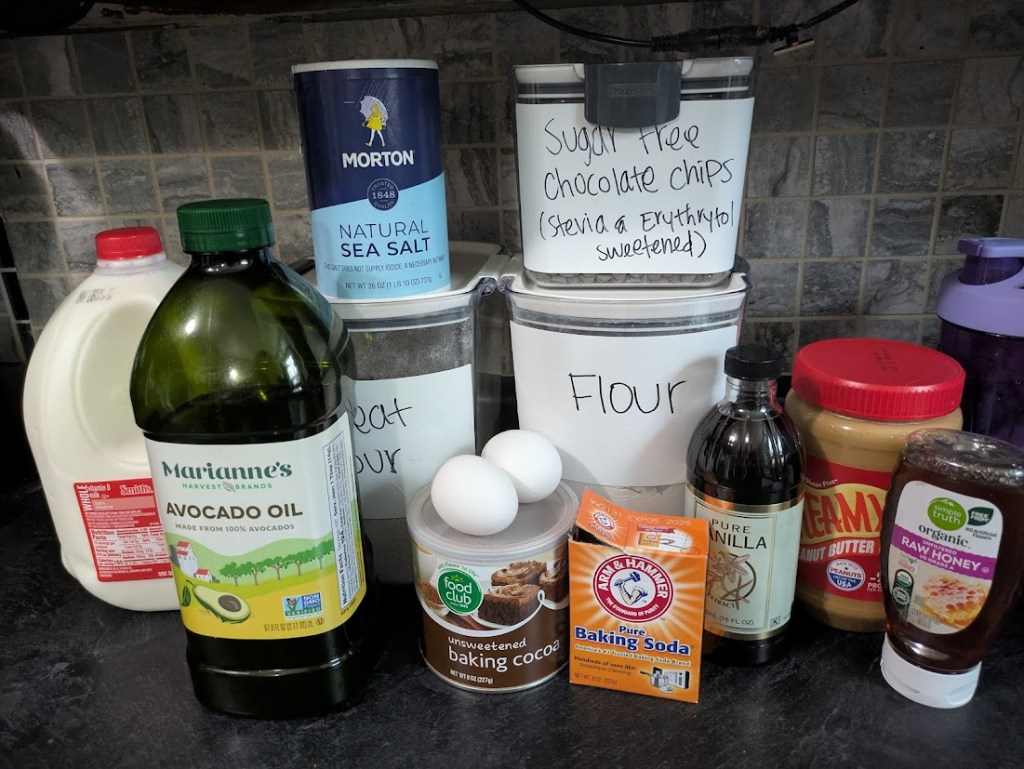
Ingredients You’ll Need:
Before we get baking, here’s a quick look at what you’ll need:
- All-purpose flour
- Unsweetened cocoa powder
- Baking powder
- Baking soda
- Salt
- Natural creamy peanut butter
- Honey (or maple syrup)
- Eggs
- Coconut oil (or avocado oil)
- Milk (dairy or almond milk)
- Vanilla extract
- Mini chocolate chips (I used Lily’s Sugar Free Dark Chocolate Baking Chips)
Step-by-Step: How to Make Chocolate & Peanut Butter Mini Muffins
Step 1: Gather Your Ingredients
First things first — gather all your ingredients and set them out.
This helps everything move faster once you start mixing!
Step 2: Preheat and Prepare
Preheat your oven to 350°F (175°C).
Go ahead and lightly grease your mini muffin tin or line it with mini liners. I personally use these silicone mini muffin molds so I can easily pop them out when they are done cooling!
Step 3: Mix the Dry Ingredients
In a large bowl, whisk together the flour, cocoa powder, baking powder, baking soda, and salt.
This will make sure everything is evenly combined and no lumps of cocoa hide later!

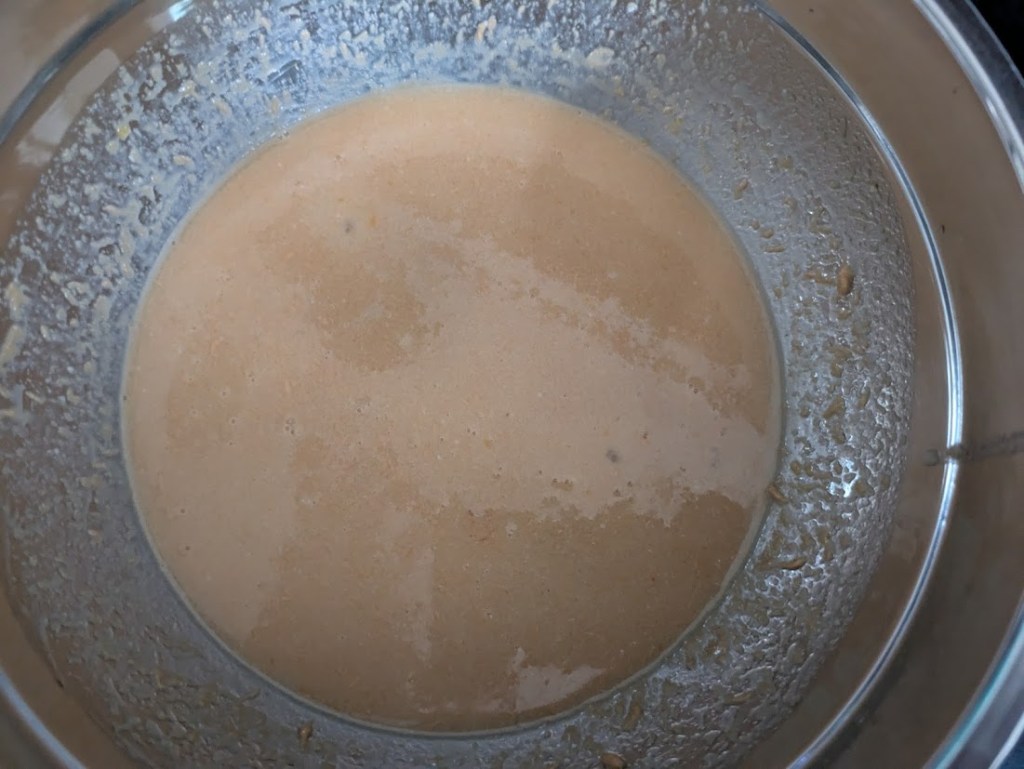
Step 4: Mix the Wet Ingredients
In a separate bowl, stir together the peanut butter, honey, eggs, melted coconut oil (or avocado oil), milk, and vanilla extract.
Mix it until it’s smooth and creamy. I had to whisk for a while before it totally smoothed out.
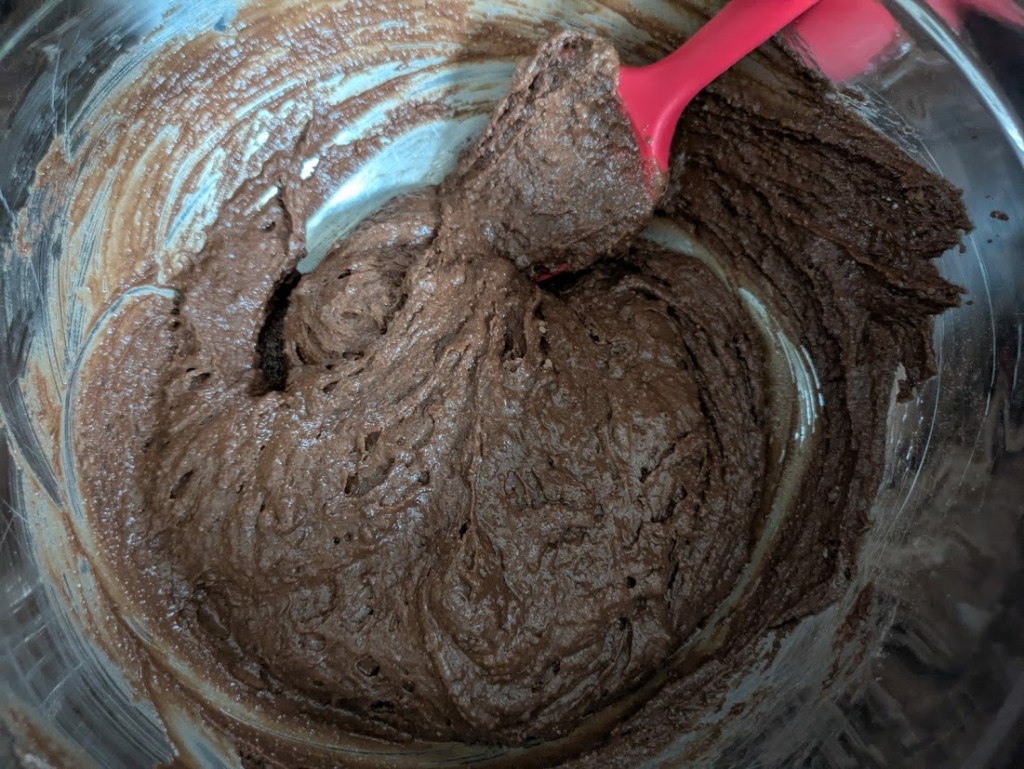
Step 5: Bring It All Together
Now pour your wet ingredients into the bowl with the dry ingredients.
Gently stir everything together — just until combined. (A few lumps are okay! Overmixing = dense muffins.)
Step 6: Fold in the Chocolate Chips
Toss in the mini chocolate chips and gently fold them into the batter.

Step 7: Fill the Muffin Tin or silicone molds
Scoop the batter into your mini muffin cups, filling each about ¾ of the way full. As you can see, I was pretty heavy handed on the spray 😂

Step 8: Bake and Cool
Bake for 10–12 minutes. You’ll know they’re done when a toothpick poked into the center comes out with just a few moist crumbs (not wet batter!).
Let them cool in the pan for 5 minutes, then transfer them to a wire rack to cool completely.

A Quick Note:
When I first made this batch, I realized I didn’t have baking powder on hand! I made a quick swap by using ¾ teaspoon baking soda plus ½ teaspoon distilled white vinegar mixed into the wet ingredients — and the muffins still turned out soft and delicious.
So if you ever find yourself out of baking powder, you can do the same!
Chocolate & Peanut Butter Mini Muffins (Naturally Sweetened)
Ingredients:
- 1 ½ cups all-purpose flour (or half whole wheat flour)
- ½ cup unsweetened cocoa powder
- 1 teaspoon baking powder
- ½ teaspoon baking soda
- ½ teaspoon salt
- ½ cup natural creamy peanut butter
- ½ cup honey (or pure maple syrup)
- 2 large eggs
- ⅓ cup melted coconut oil (or avocado oil)
- ¾ cup milk (dairy or unsweetened almond milk)
- 1 teaspoon vanilla extract
- ½ cup mini chocolate chips (I used Lily’s Sugar Free Dark Chocolate Baking Chips)
Instructions:
- Preheat the oven to 350°F (175°C). Lightly grease a mini muffin tin or line with mini muffin liners.
- Mix the dry ingredients: In a large bowl, whisk together the flour, cocoa powder, baking powder, baking soda, and salt.
- Mix the wet ingredients: In a separate bowl, whisk together the peanut butter, honey (or maple syrup), eggs, melted oil, milk, and vanilla extract until smooth.
- Combine wet and dry: Pour the wet ingredients into the dry ingredients and stir until just combined. Be careful not to overmix!
- Fold in the mini chocolate chips.
- Fill the muffin cups about ¾ full with the batter.
- Bake for 10–12 minutes, or until a toothpick inserted in the center comes out with a few moist crumbs.
- Cool in the pan for 5 minutes, then transfer to a wire rack to cool completely.
Notes:
- If you don’t have baking powder, you can substitute by using ¾ teaspoon baking soda plus ½ teaspoon distilled white vinegar added into the wet ingredients.
- These muffins are naturally sweetened and perfect for freezing — just store in a freezer bag for up to 2 months!
- I used Lily’s Sugar Free Dark Chocolate Baking Chips, but feel free to use any mini chocolate chips you like!
Final Thoughts
These chocolate and peanut butter mini muffins have been such a hit around here — especially for quick after-school snacks or tossing into our homemade lunchables! I love making a batch at the start of the week and slipping a few into my son’s lunchbox for an easy, naturally sweet treat. (And let’s be honest — I usually sneak a couple for myself too 😆).
If you give these a try, I’d love to hear how they turn out for you!
Leave a comment below— I love seeing what you bake! 🥰🍫